DIY Fencing Discoloration: Step-by-Step Recommendations to Revitalize Your Outside Area
One reliable means to rejuvenate your fencing and enhance the aesthetic allure of your residential or commercial property is by tarnishing it. Do It Yourself Fence Staining: Step-by-Step Directions to Revitalize Your Outdoor Room supplies you with a comprehensive overview to attaining professional-looking results on your own (fence staining nashville tn). fence staining. Obtain all set to take your Do it yourself abilities to the next level with our guide to fencing staining.
Collect the Necessary Products
To collect the essential products for DIY fence staining, begin by assembling a comprehensive listing of things required for the task. This listing needs to include the adhering to items:
Tarnish: Pick a high-quality tarnish that is specifically created for outside use. When picking the discolor for your fencing., consider variables such as weather, toughness, and color resistance.
Rollers or brushes: Depending upon the size and structure of your fencing, you may require both brushes and rollers. Brushes are excellent for getting to into tight corners and crevices, while rollers are more efficient for larger, level locations.
Go Down Cloths or Tarps: Safeguard your bordering locations from unintentional spills or splatters by covering them with ground cloth or tarpaulins. This will aid prevent any damages to your grass, plants, or other outside furniture.
Cleaning up Products: Before tarnishing your fence, it's essential to clean it completely. Gather things such as a power washing machine, scrub brush, and a mild detergent to remove any debris, gunk, or dust.
Safety Devices: Don't neglect to focus on security while working with your fence. Wear safety goggles, handwear covers, and a mask to shield yourself from any type of potential risks, such as fumes or chemicals.
Prepare the Fence for Discoloration
To prepare the fencing for discoloration, completely tidy the surface making use of a power washing machine, scrub brush, and mild cleaning agent to eliminate any type of crud, particles, or dirt. This action is essential to guarantee that the discolor adheres effectively to the fence and provides a smooth and also finish.
Start by utilizing a power washing machine to get rid of any kind of loose dust or particles from the fence. Establish the pressure to a moderate level to prevent damaging the wood (fence cleaning). Move the power washing machine in a sweeping activity, working from top to bottom, to guarantee extensive cleansing
Next, utilize a scrub brush and moderate cleaning agent to scrub the fencing. This will assist get rid of any staying dirt or grime that the power washing machine may have missed out on. Operate in small sections, using mild stress to avoid scraping the wood. Rinse the fence completely with water to eliminate any type of cleaning agent residue.
After cleaning, permit the fencing to completely dry entirely prior to waging the discoloration procedure. This is essential to ensure that the discolor is soaked up effectively by the timber. Depending upon the weather problems, this might take anywhere from a couple of hours to a number of days.
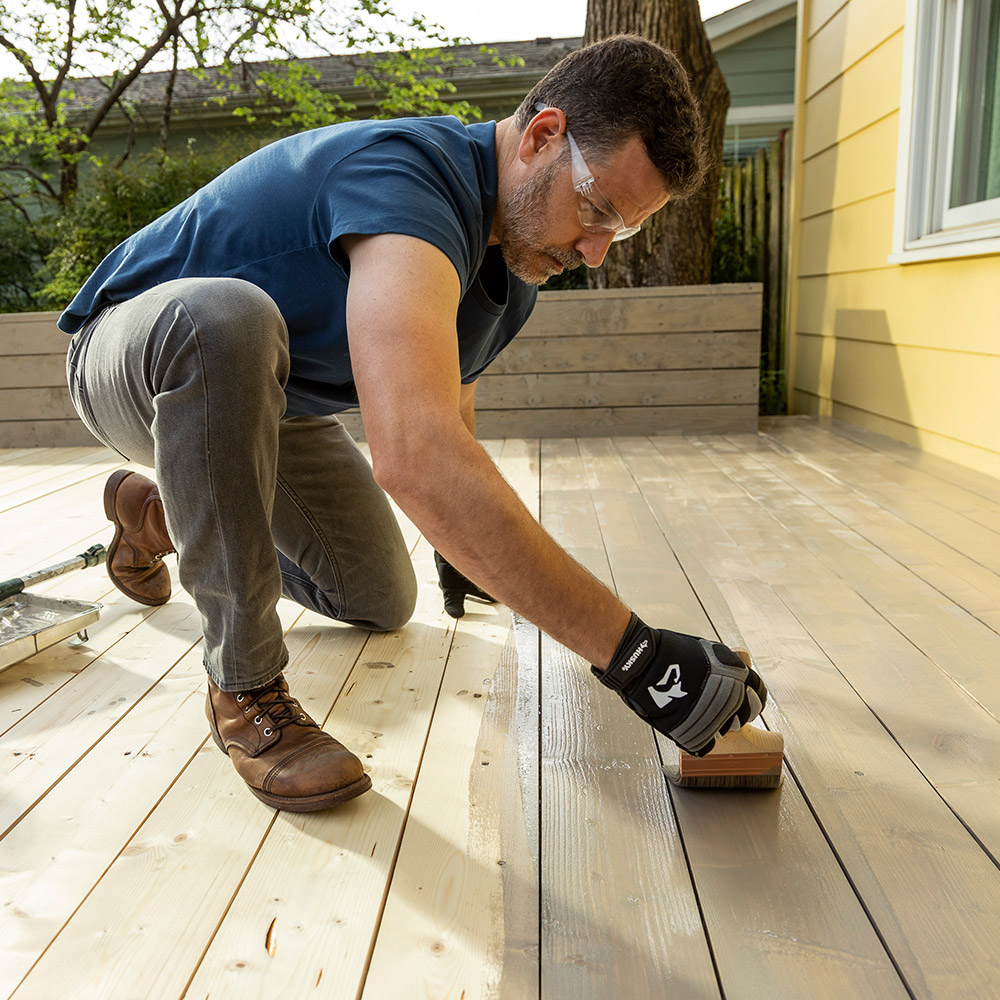
Use the Stain to the Fencing
To begin the staining procedure, very carefully apply the stain to the prepared fence utilizing a brush, roller, or sprayer , ensuring even coverage and smooth application. This step is crucial in accomplishing a professional-looking finish and improving the toughness of your fencing.
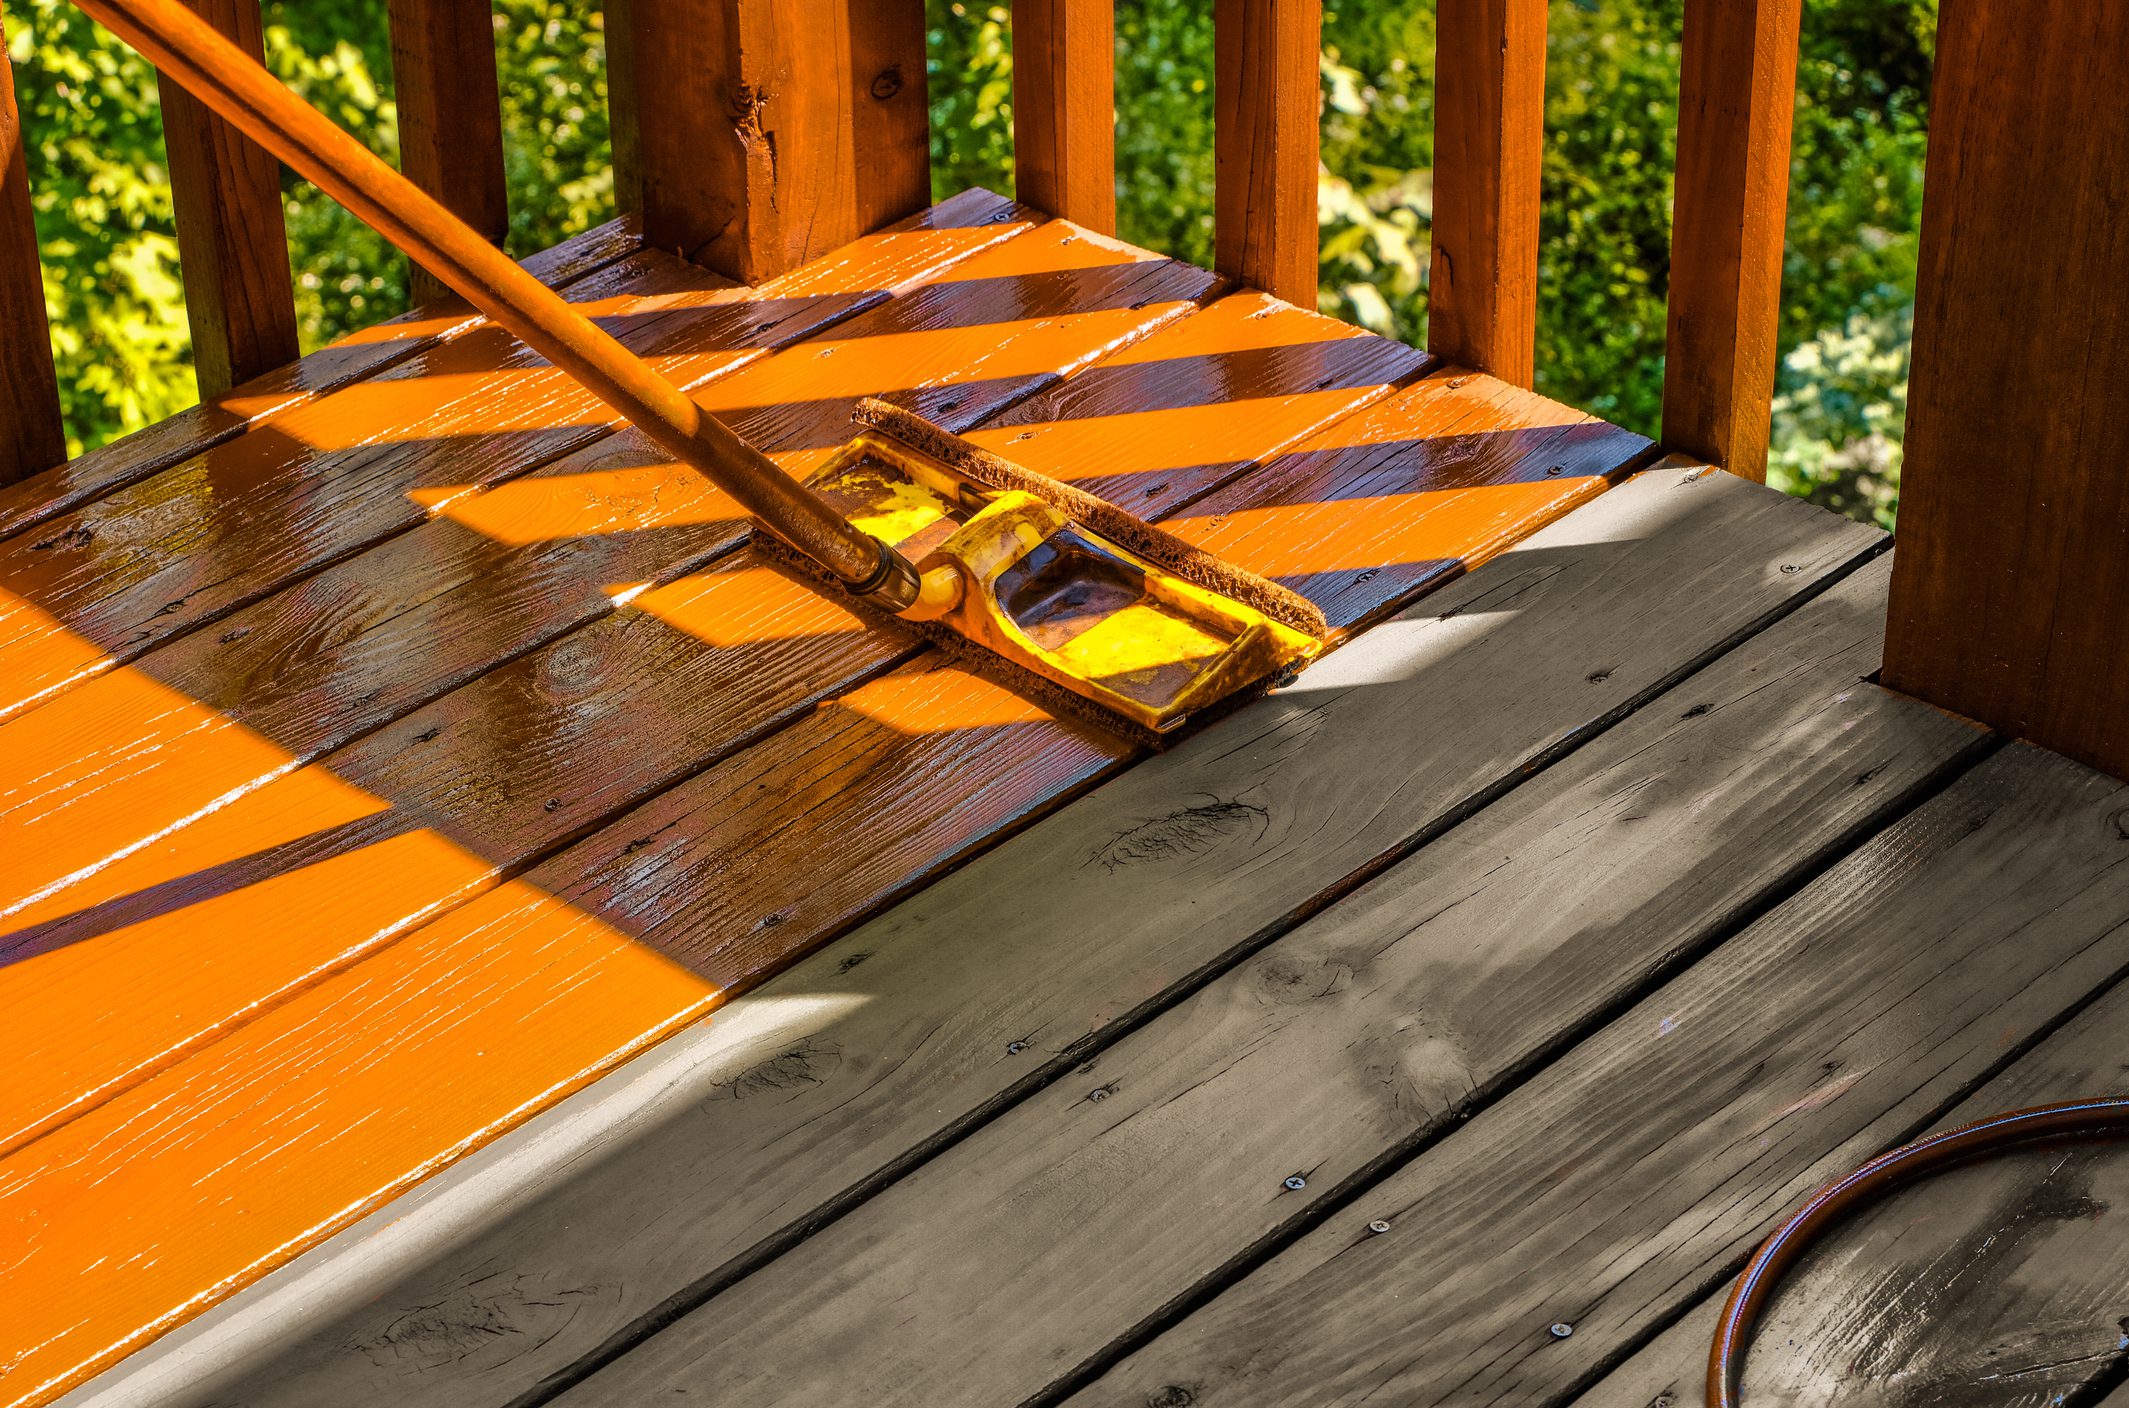
If you prefer to utilize a roller, select one with a tool nap for optimal stain absorption. Pour the discolor into a roller tray and roll the roller back and forth to saturate it uniformly. Begin on top of the fence and roll the stain onto the surface, overlapping each stroke a little for consistent insurance coverage.
For larger areas or to quicken the process, a sprayer can be utilized. Fill the sprayer with the discolor according to the maker's guidelines and adjust the nozzle for a great haze or spray pattern. Hold the sprayer approximately 6-8 inches far from the fencing and apply the tarnish in a sweeping movement, moving from side to side and top to bottom.
Despite the application technique chosen, make sure to avoid drips, runs, or pooling of the discolor. Work methodically and systematically, making certain that each area gets sufficient insurance coverage. When the tarnish has been used, allow it to completely dry entirely according to the producer's recommended drying time before using a second coat if desired.
Let the Spot Dry and Cure
After using the discolor to the fencing, it is vital to enable it to completely dry and remedy totally prior to continuing with any type of more actions. Enabling the discolor to completely dry and treatment makes sure that it adheres properly to the wood surface area, giving lasting security and a gorgeous coating.
To promote correct drying out, it is recommended to leave the fencing untouched and prevent any type of call with the tarnished surface area. This indicates avoiding leaning objects against the fence or cleaning against it. Doing so could potentially disturb the result and stain in an irregular surface.
As soon as the tarnish has actually dried out entirely, it is important to allow it to cure. Throughout this time, it is suggested to avoid any type of activities that may cause damages to the freshly discolored fence, such as hanging decorations or leaning hefty things against it.
Maintain and Safeguard Your Newly Stained Fencing
Routinely copyrightine and preserve your newly stained fencing to ensure its lasting elegance and security - fence staining and sealing. While the discoloration process enhances the look and longevity of the fencing, it is necessary to take proper care to maintain its high qualities in time. Here are some ideas to preserve and protect your freshly discolored fence
To start with, frequently inspect your fencing for any indicators of damage or wear. Search for splits, peeling, or discoloration, as these can suggest problems that need to be addressed without delay. Take immediate action to protect against further damage. if you observe any type of problems.
Next, maintain your fencing clean by routinely getting rid of dirt, debris, and discolorations. Use a light cleaning agent and a soft brush or sponge to delicately scrub the surface. Stay clear of making use of severe chemicals or abrasive products that might harm the tarnish.
Additionally, trim any type of plants that grows near the fence to prevent it from scrubing versus the surface area, which can trigger scrapes or harm the discolor. It is likewise vital to make certain proper water drainage around the fence to stop water from creating and pooling rot or decay.
Finally, consider using a safety sealer or topcoat to supply an added layer of security against the elements. This can assist lengthen the life of the preserve the fencing and stain's elegance.
Verdict
In verdict, by adhering to these step-by-step guidelines, you can renew your outdoor area via do it yourself fencing discoloration. Gathering the needed materials, preparing the fence, applying the discolor, and permitting it to dry from this source and remedy are necessary for accomplishing a wonderfully stained fence. Furthermore, keeping and protecting your newly tarnished fencing will assist it last much longer and proceed to boost your outside location.
Usage long, also strokes to spread out the discolor evenly, making certain to cover all surface areas, including the tops and bottoms of the fencing boards.
Hold the sprayer about 6-8 inches away from the fencing and apply the discolor in a sweeping motion, moving from side to side and top to bottom.
To advertise proper drying out, it is suggested to leave the fence unblemished and prevent any call with the discolored surface. Gathering the required products, preparing the fencing, applying the stain, and allowing it to completely dry and cure are necessary for attaining a beautifully tarnished fence. Additionally, maintaining and safeguarding your recently tarnished fencing will help it last longer and proceed to enhance your exterior location.